Create your own Battle.net server
Introduction
It's possible to create your own Battle.net server thanks to PvPGN an open source project http://pvpgn.berlios.de/. In this tutorial I will explain how to install it on your PC and make some customizations.
Most of the informations in this tutorial come from the PvPGN documentation page http://pvpgndocs.berlios.de/ and from the PvPGN forum https://forums.pvpgn.org/
Go there to have additionnal informations and support.
I/ PvPGN Setup
1. Download the PvPGN installer
from the official download page http://pvpgn.berlios.de/index.php?page=files
or from the download page here
2. Launch setup
3. Click on the "Next" button
4. Click on the "I Agree" button
5. Click on the "Next" button
6. Keep "Plain text" selected and click on the "Install" button

7. Click on the "Finish" button
8. Launch PvPGN with the desktop shortcut
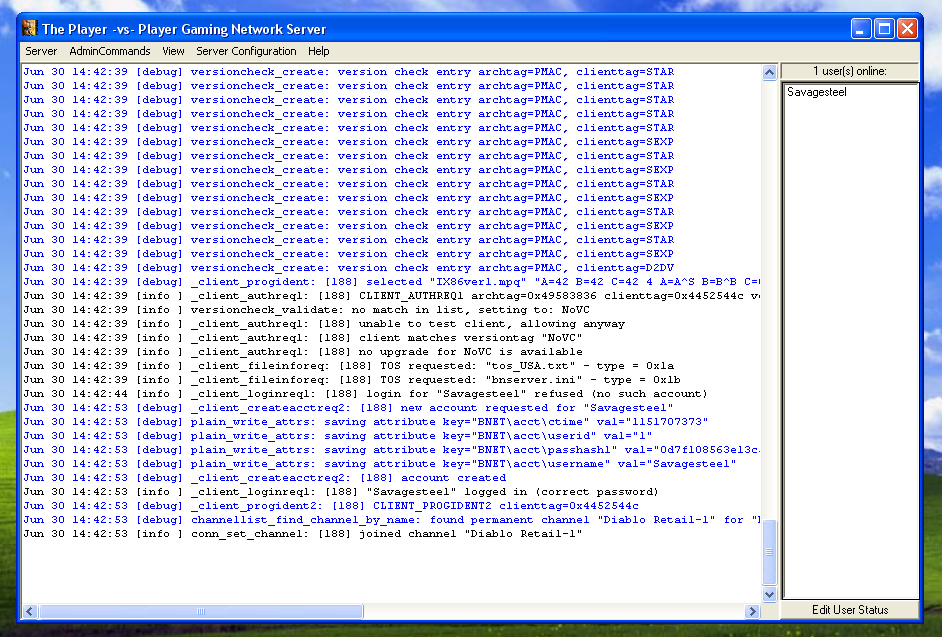
9. Here is the main window of your server
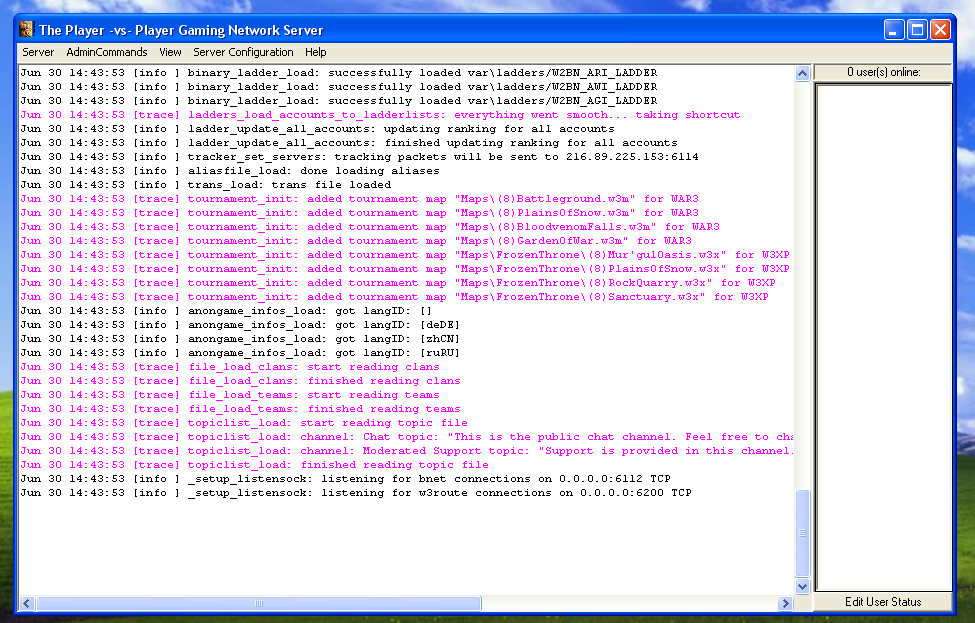
10. Minimize it to the system tray and get ready for the second part of the tutorial
II/ Clients configuration
1. Download the Battle.net Gateway Editor
from the download page here
2. Launch it
3. Keep the Starcraft tab selected (because Starcraft is from the same Blizzard game generation than Diablo)
4. Click on "Add gateway"

5. Choose a Gateway name, then a zone number (-1 for Europe)
If you are performing this second part of the tutorial on the computer that hosts the PvPGN server,
just type "localhost" in the IP field
If you are performing this second part of the tutorial on an other computer type the server IP in the IP field
(For example, in my Local Area Network it's 192.168.0.2)

7. Click on the "OK" button and quit the Battle.net Gateway Editor
Repeat this part of the tutorial on all the clients.
III/ Test the battle.net server
1. Launch Diablo 1.09b (apply the patch if necessary)
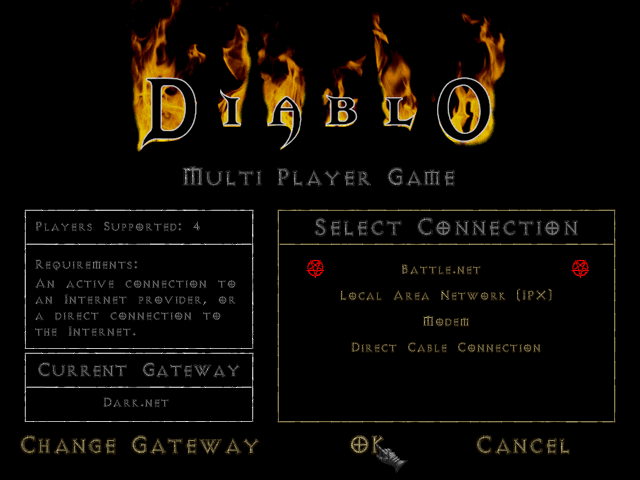
2. Go to multiplayer mode
3. Select Battle.net and click on "Change Gateway"

4. Choose the gateway you just created (here it's Dark.net)
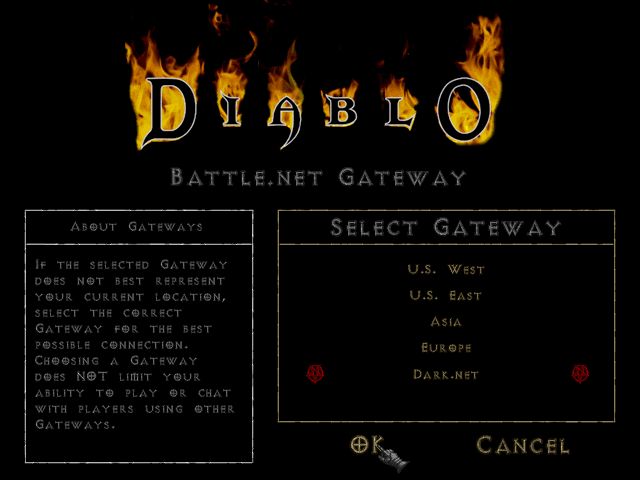
5. Click on "OK"
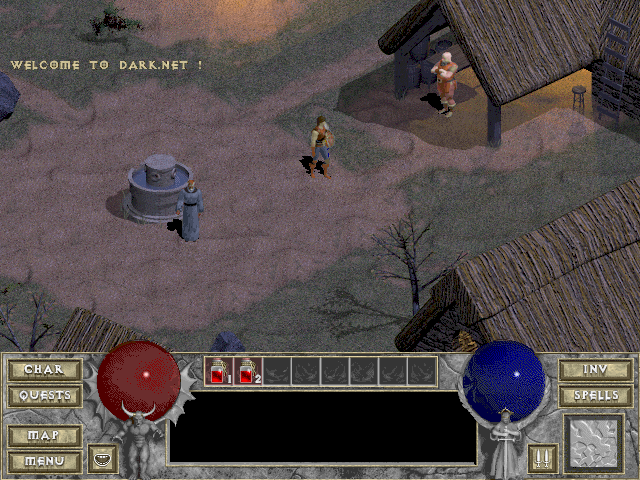
6. Click on "OK" again and now you're on your Battle.net server
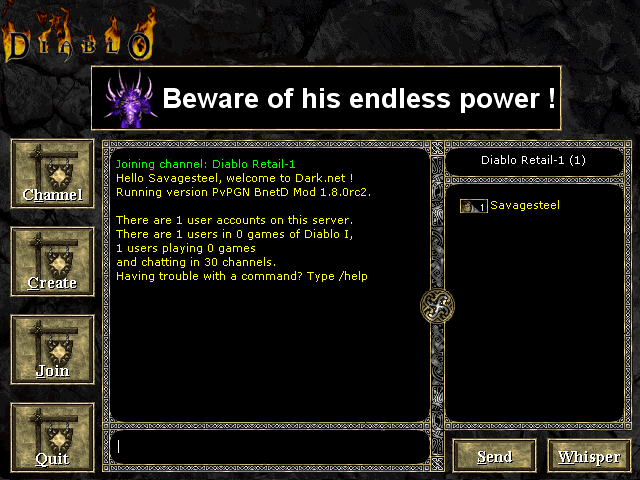
7. Create an account and then go to the central chat. You can join channels, create games etc.


IV/ Manage your server
1. Restore the PvPGN window on the server (press the windows key if you launched a client on it)
2. In the PvPGN window you can now see that the user you just created is online
3. If you go in the following menu, you can perform wome actions on the users (ban, kick...)
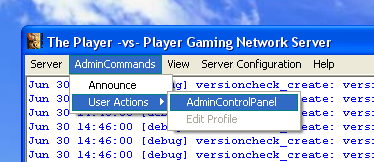
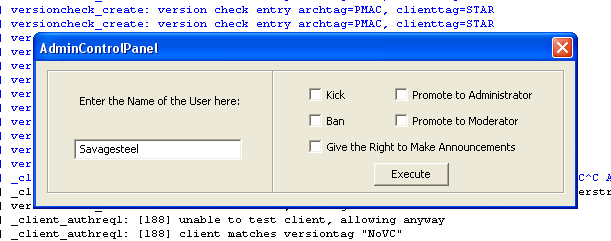
4. You can also send announcements to all the users connected on your server.
To do such a thing click on the following menu, type you announcement and press Enter


Every players can see the announcement, even if they play

V/ Custom the Welcome message on the central chat
1. Browse your PvPGN directory (Program Files\PvPGN\) and go into the "conf" folder.
2. Edit the bnmotd.txt file with your favorite text editor and you'll see the following text:
%IHello %l, welcome to %s!
%IRunning version %v on %h.
%IThis server is hosted by %H
%I
%IThere are %a user accounts on this server.
%IThere are currently %U users in %G games of %N,
%Iand %u users playing %g games and chatting in %c channels.
%IHaving trouble with a command? Type /help to
%Ilearn more about it.
%I
%I%m
This text is the one displayed when you just enter the central chat:

You can write what you want in this file. To help you editing this file I give you the variables that you can use in it:
%a = number of registered accounts on the server
%c = number of currently existant channels
%g = total number of currently running games
%G = games of users with same clienttag.
%h = hostname of the server
%H = contact name (as set in bnetd.conf)
%i = userid of the user
%l = username
%N = name of the game the user has connected with.
%m = check user's mail when they login
%r = IP of the user
%t = clienttag of the user
%u = number of users currently logged in
%U = users logged in with the same clienttag
%v = server version
After modification, you can have something like that:

VI/ Custom the ad banners
In this part of the tutorial you will learn how to make a banner with one ore more pictures.
The banners must be in the smk (Smacker) format to work, so I will explain how to convert bitmap file(s) into a Smacker video file.
1. Your bitmap file(s) must have a size of 468 x 60 pixels.
Make it/them with photoshop for example.
Here are the two bitmaps I will use in my example:
banner1.bmp

banner2.bmp

2. Just next to your bitmap file(s) create a simple text file and with the .lst extension (banner.lst for example)
In this file put the following line for each bitmap frame you have:
C:\mybanner.bmp /l50
The first element is the path of the bitmap file
The second element defines how many frames this bitmap will take (/l like "length" followed by the length).
Here is my banner.lst:
C:\banner1.bmp /l50
C:\banner2.bmp /l50
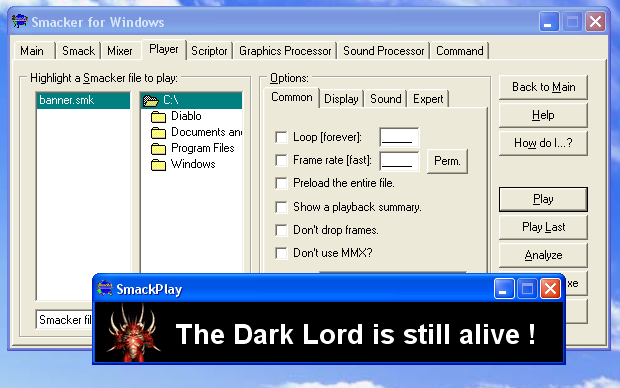
In my example, banner1.bmp will be duplicated 50 times, so in the smacker video file you'll
have the first 50 frames displaying the red Diablo with the text "The Dark Lord is still alive !". The next 50 frames of the video will display the blue doiablo with the text "Beware of his endless power !"
3. Install the old Smacker Tools (follow the installer instructions)
from the official download page http://www.radgametools.com/down/Smacker/SmkTools.exe
or from the download page here
4. Launch the old Smacker tools (Start Menu > All Programms > Smacker > Smaker Tools)
5. Go to the "Graphics Processor" tab, select the list file and click on the "Convert" button:

This will create the file banner.flc.
6. Then go to the "Smack" tab, select banner.flc,
set the "Total palette colors to use" to 64,
set "Starting palette index to use" to 32,
set "8-bit input palettes?" to "Create New"
and finally click on the "Smack" button:

This will create the final .smk video file.
6. You can verify your work by playing the smk file in the "Player" tab:
7. Now copy this file to the "files" folder of your PvPGN directory.
Rename it ad000002.smk for example.
8. Go to the "conf" folder of your PvPGN directory ans edit the ad.conf file with a text editor.
Read the explanations provided there and replace the following line:
"ad000001.smk" start 30 "http://www.pvpgn.org" 0x000000 "NULL"
by this one for example
"ad000002.smk" start 0 "http://www.thedark5.com/" 0x000000 "DRTL"
You can notice the "DRTL" code. It's the specific code for Diablo I Retail Version. The banner will only be displayed for those who connect with Diablo to your server.
Here is the complete specific code list:
W3XP : Warcraft III - TFT (Expansion)
WAR3 : Warcraft III - ROC
W2BN : Warcraft II Battle.net Edition
D2XP : Diablo II - LoD (Expansion)
D2DV : Diablo II
DSHR : Diablo I Shareware
DRTL : Diablo I (Retail Version)
SEXP : Starcraft - Broodwar (Expansion)
STAR : Starcraft
9. Launch Diablo, connect to your Battle.net server and watch the result:
Conclusion
Now you have the basics to make your own PvPGN server for Diablo 1.09b :)
|


